Escape Running Head Eyes Controls
Stock Roblox movement, plus the camera habits that keep giant eyes off your back.
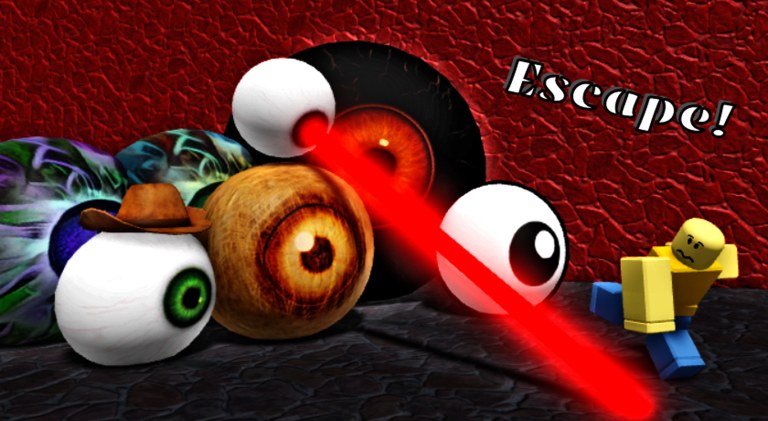
Escape Running Head Eyes does not publish a custom control scheme. You play with default Roblox movement: WASD or the left stick to walk, Space (or the on-screen jump button) to jump, and Shift to sprint if your client has sprint enabled. Camera is the usual right-mouse drag on PC, or thumb-drag on mobile. There is no unique dash, crouch-slide, or “eye stun” key. If a video overlay shows extra hotkeys, that creator added a script or a gamepass coil — not a hidden official bind. Read Getting Started first so you are even in the correct place.
The skill is not the keymap. It is when you tap jump, when you refuse to sprint, and where you point the camera so you see a patrol before it sees your silhouette.
Movement that actually survives
Walk is the default. Sprint is a tool for a two-second window after an eye turns a corner or commits down a lane you already left. Holding sprint around every bend is how you slide into a second eye you never framed.
Jump timing: small eyes can sometimes be hopped if you have height and a clean takeoff. Large eyes, laser eyes, and anything filling a corridor are go-around problems. Jumping “because I am scared” puts you on a predictable arc. Eyes track that arc better than a short strafe into a doorway. Land, then move; do not chain jumps in a killbox.
Strafe, do not weave randomly. Pick a wall. Hug it until the patrol’s facing is away, then cross. Random left-right spam looks like panic and keeps you in the middle of the lane, which is where aggressive eyes want you.
Safe corners are geometry that breaks line of sight: door jambs, pillar backs, the inside of an L-turn, the shadow of a wide prop. Stand fully inside the corner, not half-peeking. If an eye still curves into you, that corner is not safe — leave it on the next cycle instead of crouching in a game that has no crouch.
How eyes track
Eyes are aggressive, but they are not hitscan ghosts. They patrol, then commit. Watch the body, not the texture. When an eye is sliding along a wall on a loop, you can time a cross. When it snaps toward your avatar, stop trying to outrun it in a straight line; break LOS with a corner, then wait. Many deaths happen because players sprint with the chase into a dead end instead of taking the first side pocket.
Audio and music shifts often telegraph a denser room. Use that as a camera cue: spin 180, find the mover, then decide walk vs sprint. Puzzle rooms still have eyes. Clearing a button does not freeze patrols. Hit the button on a cycle, then leave; do not admire the door animation in the open.
Level 4 later adds laser tells. If a beam winds up, you are in a line fight, not a jump fight. Sidestep first. Level 5’s sky boss is about surviving a pattern in open air, which is the opposite of corridor corners — practice the corridor habits here so you notice when a later stage strips them away. Those fights are written on boss fights.
PC vs mobile vs gamepad
PC wins on camera speed. Bind sprint where you will not fat-finger jump. Keep sensitivity high enough to whip around a corner without doing a full 360 into a wall.
Mobile loses camera speed and wins thumb jump. Use walk more than PC players. Pre-aim the camera down a hall before you move. Jump with the button, not by sliding the stick up. If sprint is a separate joystick modifier, treat it as a tap, not a hold.
Gamepad is close to mobile: left stick move, A/cross jump, right stick camera. Sprint is usually click-left or a trigger depending on your Roblox mapping. Do not toggle sprint on and forget it. The walkthrough assumes you can stop on a dime; a stuck sprint ruins Level 3 onward.
Optional gamepasses such as Gravity Coil change jump height. They also change every timing you learn. Practice stock in the hub (Level 1) until you can wait out one full patrol without jumping. Then decide if you still want the coil.
A five-minute hub drill
Before you touch Level 4’s lock:
- Spawn, do not move, name three eyes by path (left loop, center rush, far door).
- Walk to a corner, wait for the nearest eye to pass, cross.
- Sprint only on the cross, then walk again.
- Jump once on purpose over a low hazard, then refuse the next three jumps.
- Die on purpose to a committed eye and watch from the retry how far it chased. That distance is your “do not enter” bubble.
If you can do that drill, Levels 2–3 stop feeling random. If you cannot, stay in the hub; more badges will not fix camera panic. Rank threats with the eyes tier list and skim the eyes roster for silhouettes. When you are ready to hunt hidden doors instead of practicing corners, switch to secret levels. Extra worlds that change the contract are on Challenge and Halloween and Vapor World.
Stock keys, delayed sprint, and one extra camera check beat any unofficial bind list.
Frequently Asked Questions
Quick answers for new and returning players.
What are the official keybinds?
Default Roblox: WASD or left stick, Space to jump, Shift to sprint if enabled. No extra scheme is published. See Getting Started for the hub drill context.
Should I always sprint?
No. Sprint after a patrol turns or after you break line of sight. Holding sprint is why Level 3’s ~59% drop looks worse than it is. Pair this with the walkthrough.
Can I jump over every eye?
Only some small ones, and only with a clean takeoff. Large eyes, lasers, and sky patterns are dodge or survive problems. Boss fights covers the arenas that punish jump spam.
Is mobile at a disadvantage?
Camera speed is worse, so walk more and pre-aim halls. Jump on the button, not the stick. The modes tier list still applies; the maps do not change.
Do gamepass coils count as controls?
They change jump height, not the keymap. Learn stock movement first. Convenience passes are optional and not required for badges on the checklist.