Escape Running Head Eyes Level Walkthrough
Ten main stages, two locks, and the branches you should ignore until the badge says otherwise.
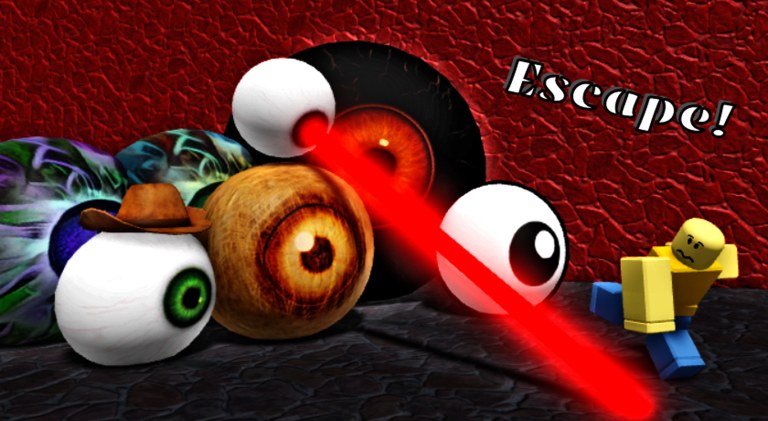
This walkthrough is the numbered campaign of Escape Running Head Eyes: Levels 1–10. Badge win rates below are approximate community figures (they drift as more people join). Use them as a difficulty curve, not a personal score. Movement habits are on controls. If you have not cleared the hub yet, start with Getting Started.
Optional branches — secrets, Vapor World, Challenge and Halloween — are called out where they unlock. They are not required to reach Felipeye.
Levels 1–3: tutorial band
Level 1 (~100%) is the hub course. Clear it. Note every portal. The boss teleporter for later locks is visible here even if you cannot use it yet.
Level 2 (~83%) adds tighter patrols. Walk the first room. Look for a button if a door stays shut. Do not assume the glowing path is the only path; some “obvious” lanes dump you into a second eye.
Level 3 (~59%) is the first real filter. Larger eyes, less forgiveness on sprint. After the badge, return to the hub and confirm the orange Halloween portal is live. You can enter Halloween I now or stay on the main spine. Main-path purists should stay; curiosity runs can dip into Halloween without losing numbered progress.
Levels 4–6: first lock, sky boss, Vapor gate
Level 4 (~27%) — locked. You need a previous clear and the boss teleporter. Public servers full of Level 2 players cannot vote you in. Come back from the hub once Level 3 is done. The stage mixes chase with puzzle pieces and, in later rooms, laser eyes and moving carts. Treat lasers as line attacks: leave the beam, then move. Cart sections punish jump panic; ride or time the gap instead of hopping in place. If you drop, use the retry place rather than replaying 1–3 unless you enjoy the tour.
Level 5 (~19%) — boss of the sky. The badge text is the hint: survive the sky fight, do not treat it like another corridor. Open air, projectiles, and a timer-style endurance beat (community runs often sit near two minutes of pattern reading). Corners are scarce. Strafe perpendicular to volleys, jump only to clear a floor tell, and do not chase the boss off a platform. You can bring a few teammates; they are extra targets, not shields. Full pattern notes sit on boss fights.
Level 6 (~10%). Chase density and puzzle honesty both go up. Finish this badge before you touch Vapor. The Vapor Level 1 badge says you must clear at least Level 6 to access that world. After Level 6 you may: continue 7–10, open Vapor World, or hunt secrets. A sensible split is “one Vapor stage per session” so you do not lose the numbered muscle memory.
Levels 7–9: rare badges and Blue Eye
Level 7 (~5%) and Level 8 (~2.3%) are where servers go quiet. Expect longer rooms, stacked patrols, and fake comfort corners. If you die twice in the same doorway, the room is a puzzle: find the button, the alternate ledge, or the delayed door. Chart-obby “right wall” will loop you into the same eye.
Level 9 (~1.8%) — locked, Blue Eye. Like Level 4, this is a gated boss-adjacent stage. Clear the previous numbered level first. Layout language shifts toward low gravity, blue kill surfaces, pipes, and a race against Blue Eye (community nickname: the surfer). Do not start the water/race segment until the boss is on the mark — starting early desyncs the cycle. Blue floor is death; jump and camera matter more than sprint. Beat Blue Eye here; Felipeye is the next place, not a secret skip.
Level 10: Felipeye (~0.6%)
Level 10 is the Final Battle place. The badge is “Clear the final battle by defeating the main antagonist.” That antagonist is Felipeye, who is why the eyes hate you. You get a sword (Eden’s Aegis in the fight audio) and a jumpy close-range pattern. Do not treat it like the sky endurance test. Close distance when the tell is safe, back off when the model slams, and use the arena edge to bait without falling. After the kill, the eye kingdom (King and Queen) reads as freed, not as a second health bar — leave the cutscene, take the badge, then decide on Challenge Mod (now unlocked even without the group) versus Death Sun.
Optional branches (do not mix into the numbered route)
- Secrets: hunt after you can survive Level 3 without panic. Badge hints only: small entryway, fall in a hole, entrance next to a small house (Secret 3 added April 2026).
- Halloween: orange portal in the hub after Level 3 → I, II, Skullaye, then III.
- Vapor: after Level 6 → four stages + Death Sun / Boomburst castle.
- Challenge: join Dimension Neverland or beat Felipeye → chained 1-2, 3-4, 5, 6-7.
Mark clears on the badge checklist. If you need a session order, the route planner is built for “main spine then one branch,” not for doing everything in one life. Rank which mode to insert with the modes tier list.
The video on this page is a full ten-level run. Use it when a room’s puzzle language is unclear, then come back to the lock notes above so you do not waste a server on Level 4 or 9 unearned.
Frequently Asked Questions
Quick answers for new and returning players.
Why can’t I enter Level 4?
It needs a previous clear plus the boss teleporter. Finish Level 3, return to the hub, then use the teleporter. Boss fights explains the later arenas.
When does Vapor World open?
After Level 6. The Vapor 1 badge says to clear at least that stage. Full notes are on Vapor World.
Is Level 9 required for Felipeye?
Yes on the main spine. Level 9 is locked and includes Blue Eye. Level 10 is the Final Battle against Felipeye. See Felipeye.
Should I do secrets during the numbered run?
Only if you still have lives and patience. Otherwise finish 1–10, then hunt with the secret levels hints.
Where do Halloween and Challenge fit?
Halloween after Level 3 via the orange hub portal. Challenge after joining the group or beating Felipeye. Both are on Challenge and Halloween.
How rare is a Level 10 win?
About 0.6% of players have the badge. Plan retries, not a one-life clear. Track it on the badge checklist.